Different graphical elements can be drawn with separate projections.
A 2D overlay can be drawn using an orthographic projection, on top of a scene drawn with a perspective projection.
Disable the depth test for the 2D part.
2D overlays are used for such things as heads-up-displays, text information, lens flares, etc.
Example: overlay.py
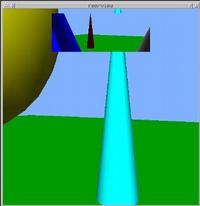
A 3D overlay can also be drawn - e.g. a 3D cockpit console in a flight simulator.
Depth buffering can cause objects from the main
scene to hide parts of the overlay.
But disabling depth buffering can cause the overlay to be rendered incorrectly.
Avoid this by clearing just the depth buffer before drawing the overlay.
glClear(GL_DEPTH_BUFFER_BIT)
Multiple projections can also be used for multiple views of a scene.
Different views typically occupy different regions of the screen.
This is accomplished using viewports.
In OpenGL, the "scissor test" is also needed.
Define the region of the window to use as follows:
    glViewport(x, y, width, height)
    glScissor(x, y, width, height)
    glEnable(GL_SCISSOR_TEST)
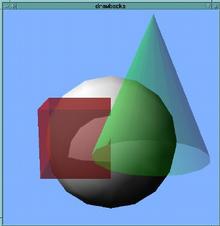
The techniques generally referred to as multipass rendering involve rendering objects (or an entire scene) multiple times, each time with different OpenGL settings.
The purpose is to achieve effects that are not normally possible in just a single rendering of a scene.
Important OpenGL functions that will be used are:

A mirror effect can be created by drawing the scene an extra time, scaled by -1 in one direction.
Things that may be needed:
We first saw an example of multipass rendering last semester, when dealing with drawing-order issues in transparency.
By rendering the transparent objects twice, with different glCullFace settings, we could blend the backs and fronts of the objects properly.
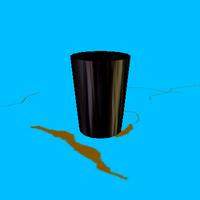
If only the very front layer of a transparent object is needed, another technique can be used.
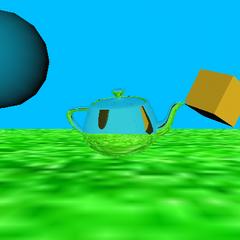
This technique eliminates the errors in complex objects (like the teapot), where the drawing order cannot be easily controlled.
Draw the object twice.
First pass: update only the depth buffer, to find the front polygons.
Second pass: draw color, but only the front polygons -
those that match what's already in the depth buffer.
Example: transparency.py
| glColorMask(GL_FALSE, GL_FALSE, GL_FALSE, GL_FALSE) | disables writing to the color buffer - only depth information will be written |
| glColorMask(GL_TRUE, GL_TRUE, GL_TRUE, GL_TRUE) | re-enables writing to the color buffer |
| glDepthFunc(GL_EQUAL) | a "fragment" is drawn only if its depth is the same as what's already in the depth buffer |
| glDepthFunc(GL_LESS) | default depth-buffering mode. a fragment is only drawn if it's nearer than what's already in the depth buffer |
Multiple passes can be used to combine several different texture effects on a single object.
Each additional pass is blended with the previous pass.
|
| + |
| = |
|
Example: multipass-tex.py
A separate buffer that can be used to combine multiple renderings from the color buffer.
Allows for multipass techniques that would have problems due to depth-buffering or blending conflicts between the different passes.
Applications:
Functions are:
Accumulation buffer is typically 16 bits per component, as compared to 8 bits per component for the color buffer.
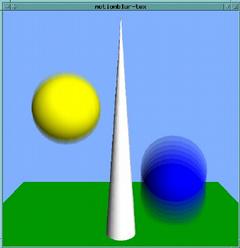
Motion blur is simulated by rendering several frames, with objects moved between each rendering, and adding the results together.
The update function for moving objects may need to be modified, to move them by "sub-frame" amounts.
Example: motionblur.cpp

Normally, a texture is defined using data in main memory - an image that was read from a file, or created algorithmically.
It is also possible to take image data from the frame buffer and load it into a texture.
glCopyTexImage2D(GL_TEXTURE_2D, 0,
                 GL_RGB, x, y,
                 width, height, 0)
copies data from part of the frame buffer into the active texture.
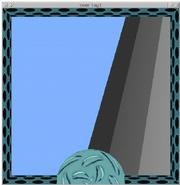
With this, we can create a "virtual camera".
Example: copytex.py
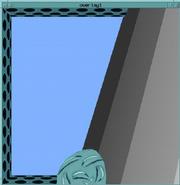
glCopyTexImage2D() can be used to create a warped view.
Example: warp.py
Current PC hardware does not appear to provide good hardware support for the accumulation buffer. Using accumulation slows a program down drastically.
A "fake" accumulation buffer can be created using a texture map and glCopyTexImage2D. The results are not quite as good as a real accumulation buffer, because the color resolution will be less.
Example: motionblur-tex.cpp